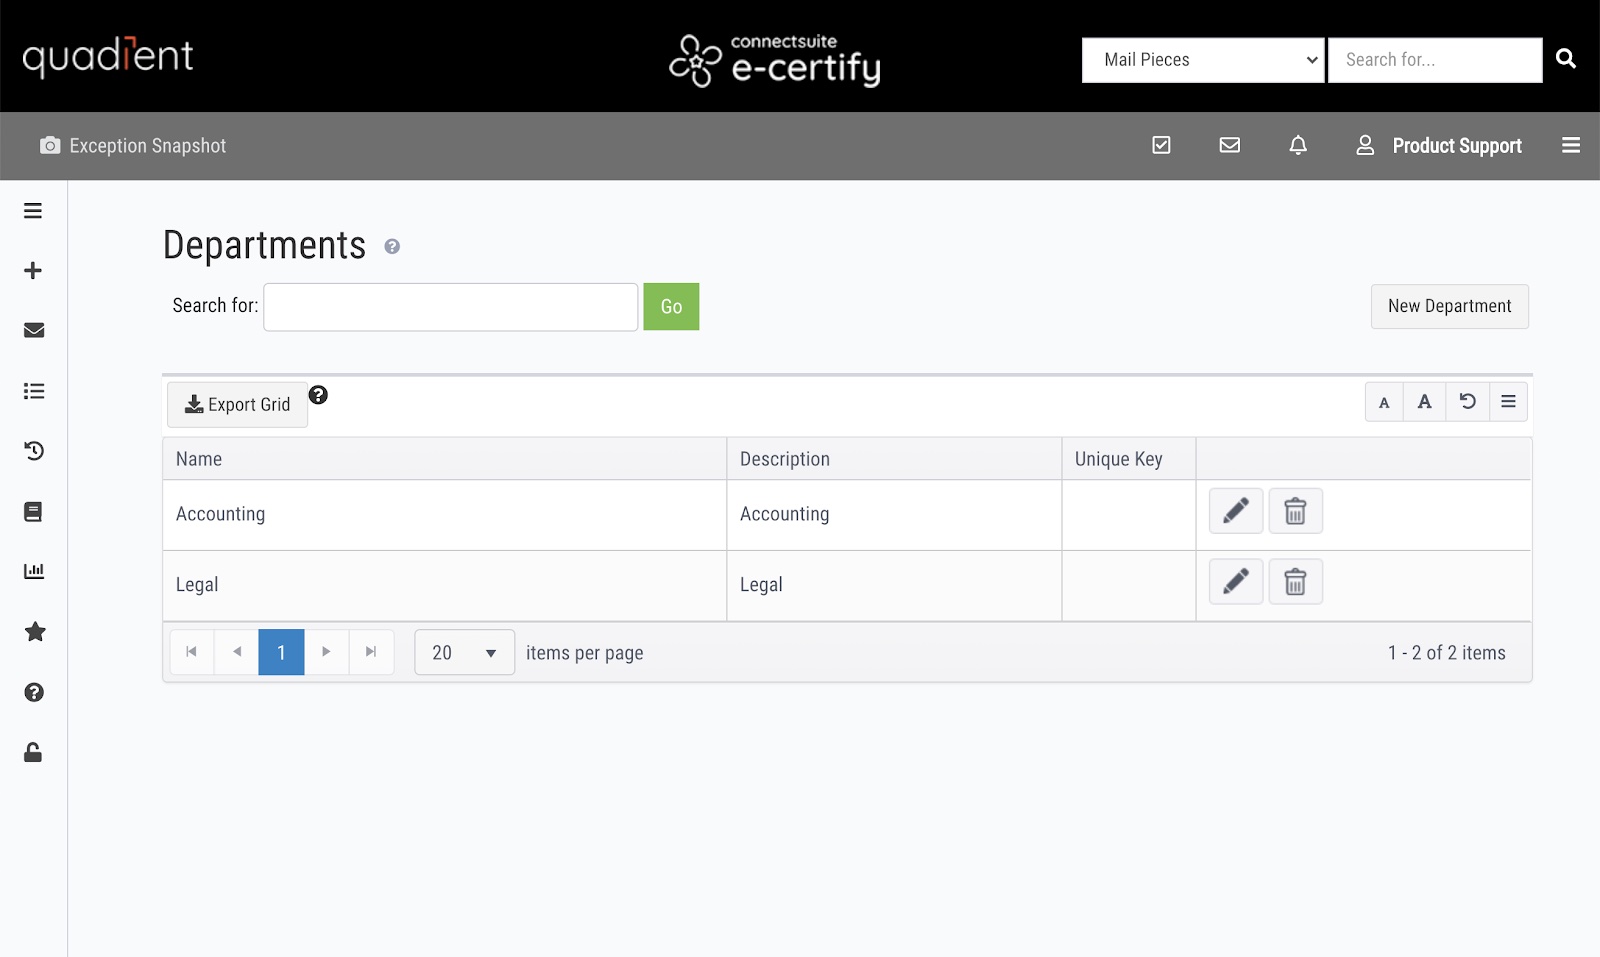
Use the Departments page to create departments within your company and assign users to those departments. Then, select a department when assigning access in places such as Mailing Profiles and Mail Piece Creation to ensure the correct users have appropriate access.
Explore Features
View addresses
New Department: Create a new department.
Edit an existing department.
Delete an existing department.
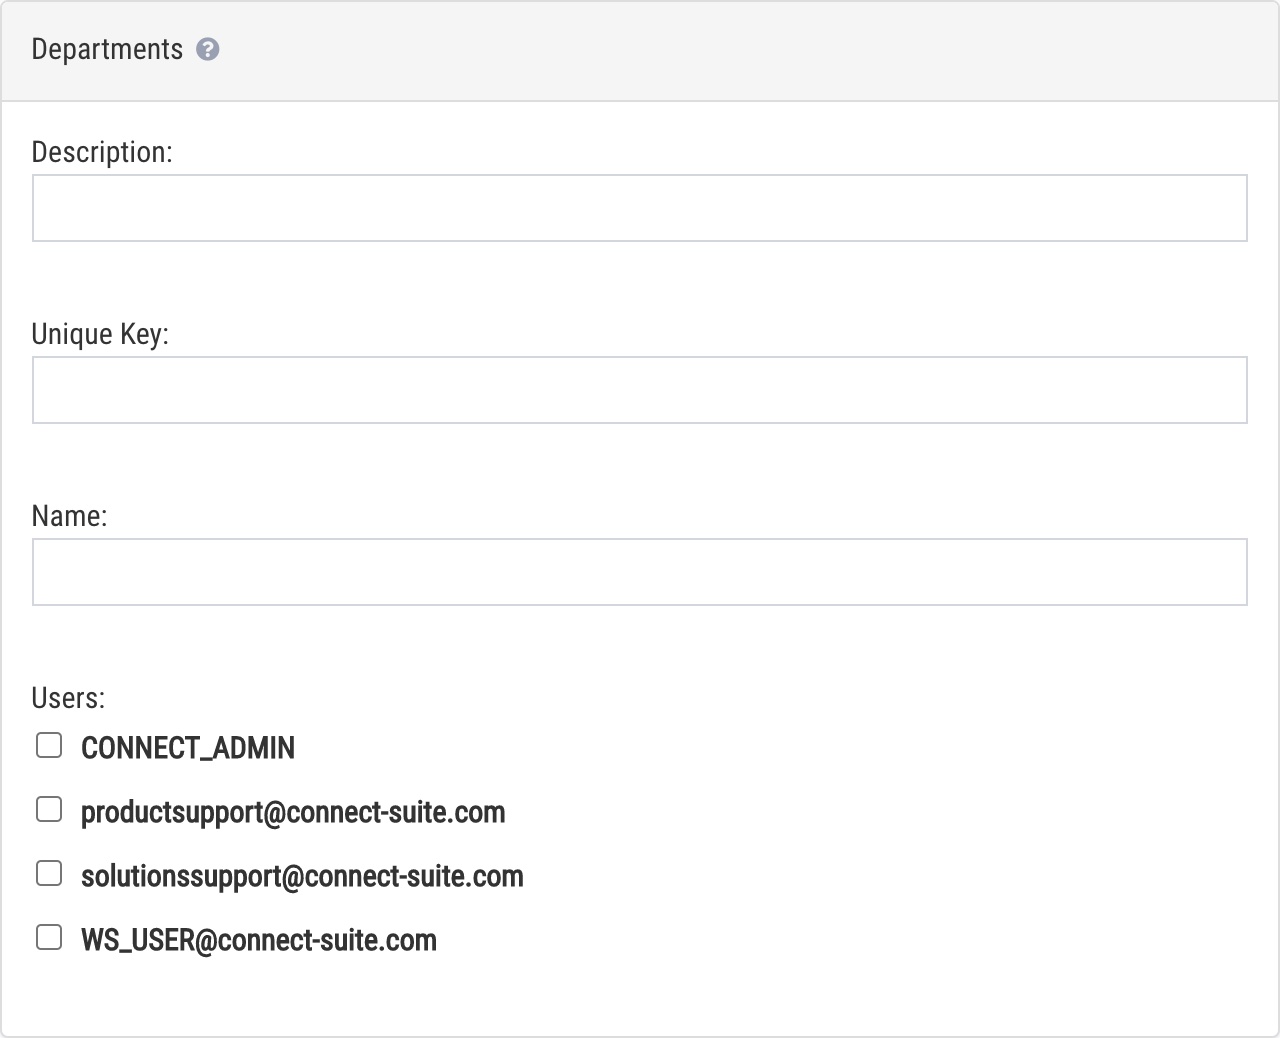
Create a new department
Description: A short description of the department. This is the name that will appear in the drop-down list when assigning access in places such as Mailing Profiles and Mail Piece Creation.
Unique Key: This field is used when uploading users. Upload users via the Users page or the Data Upload page.
Name: Name of the department
Users: Select the users you would like to assign to the department. Note that a user can belong to multiple departments.