Users
e-Certify / Help Center / Users
Overview
Create additional users to allow others to use e-Certify and create mail pieces. You can assign users to departments and locations.
Explore Features
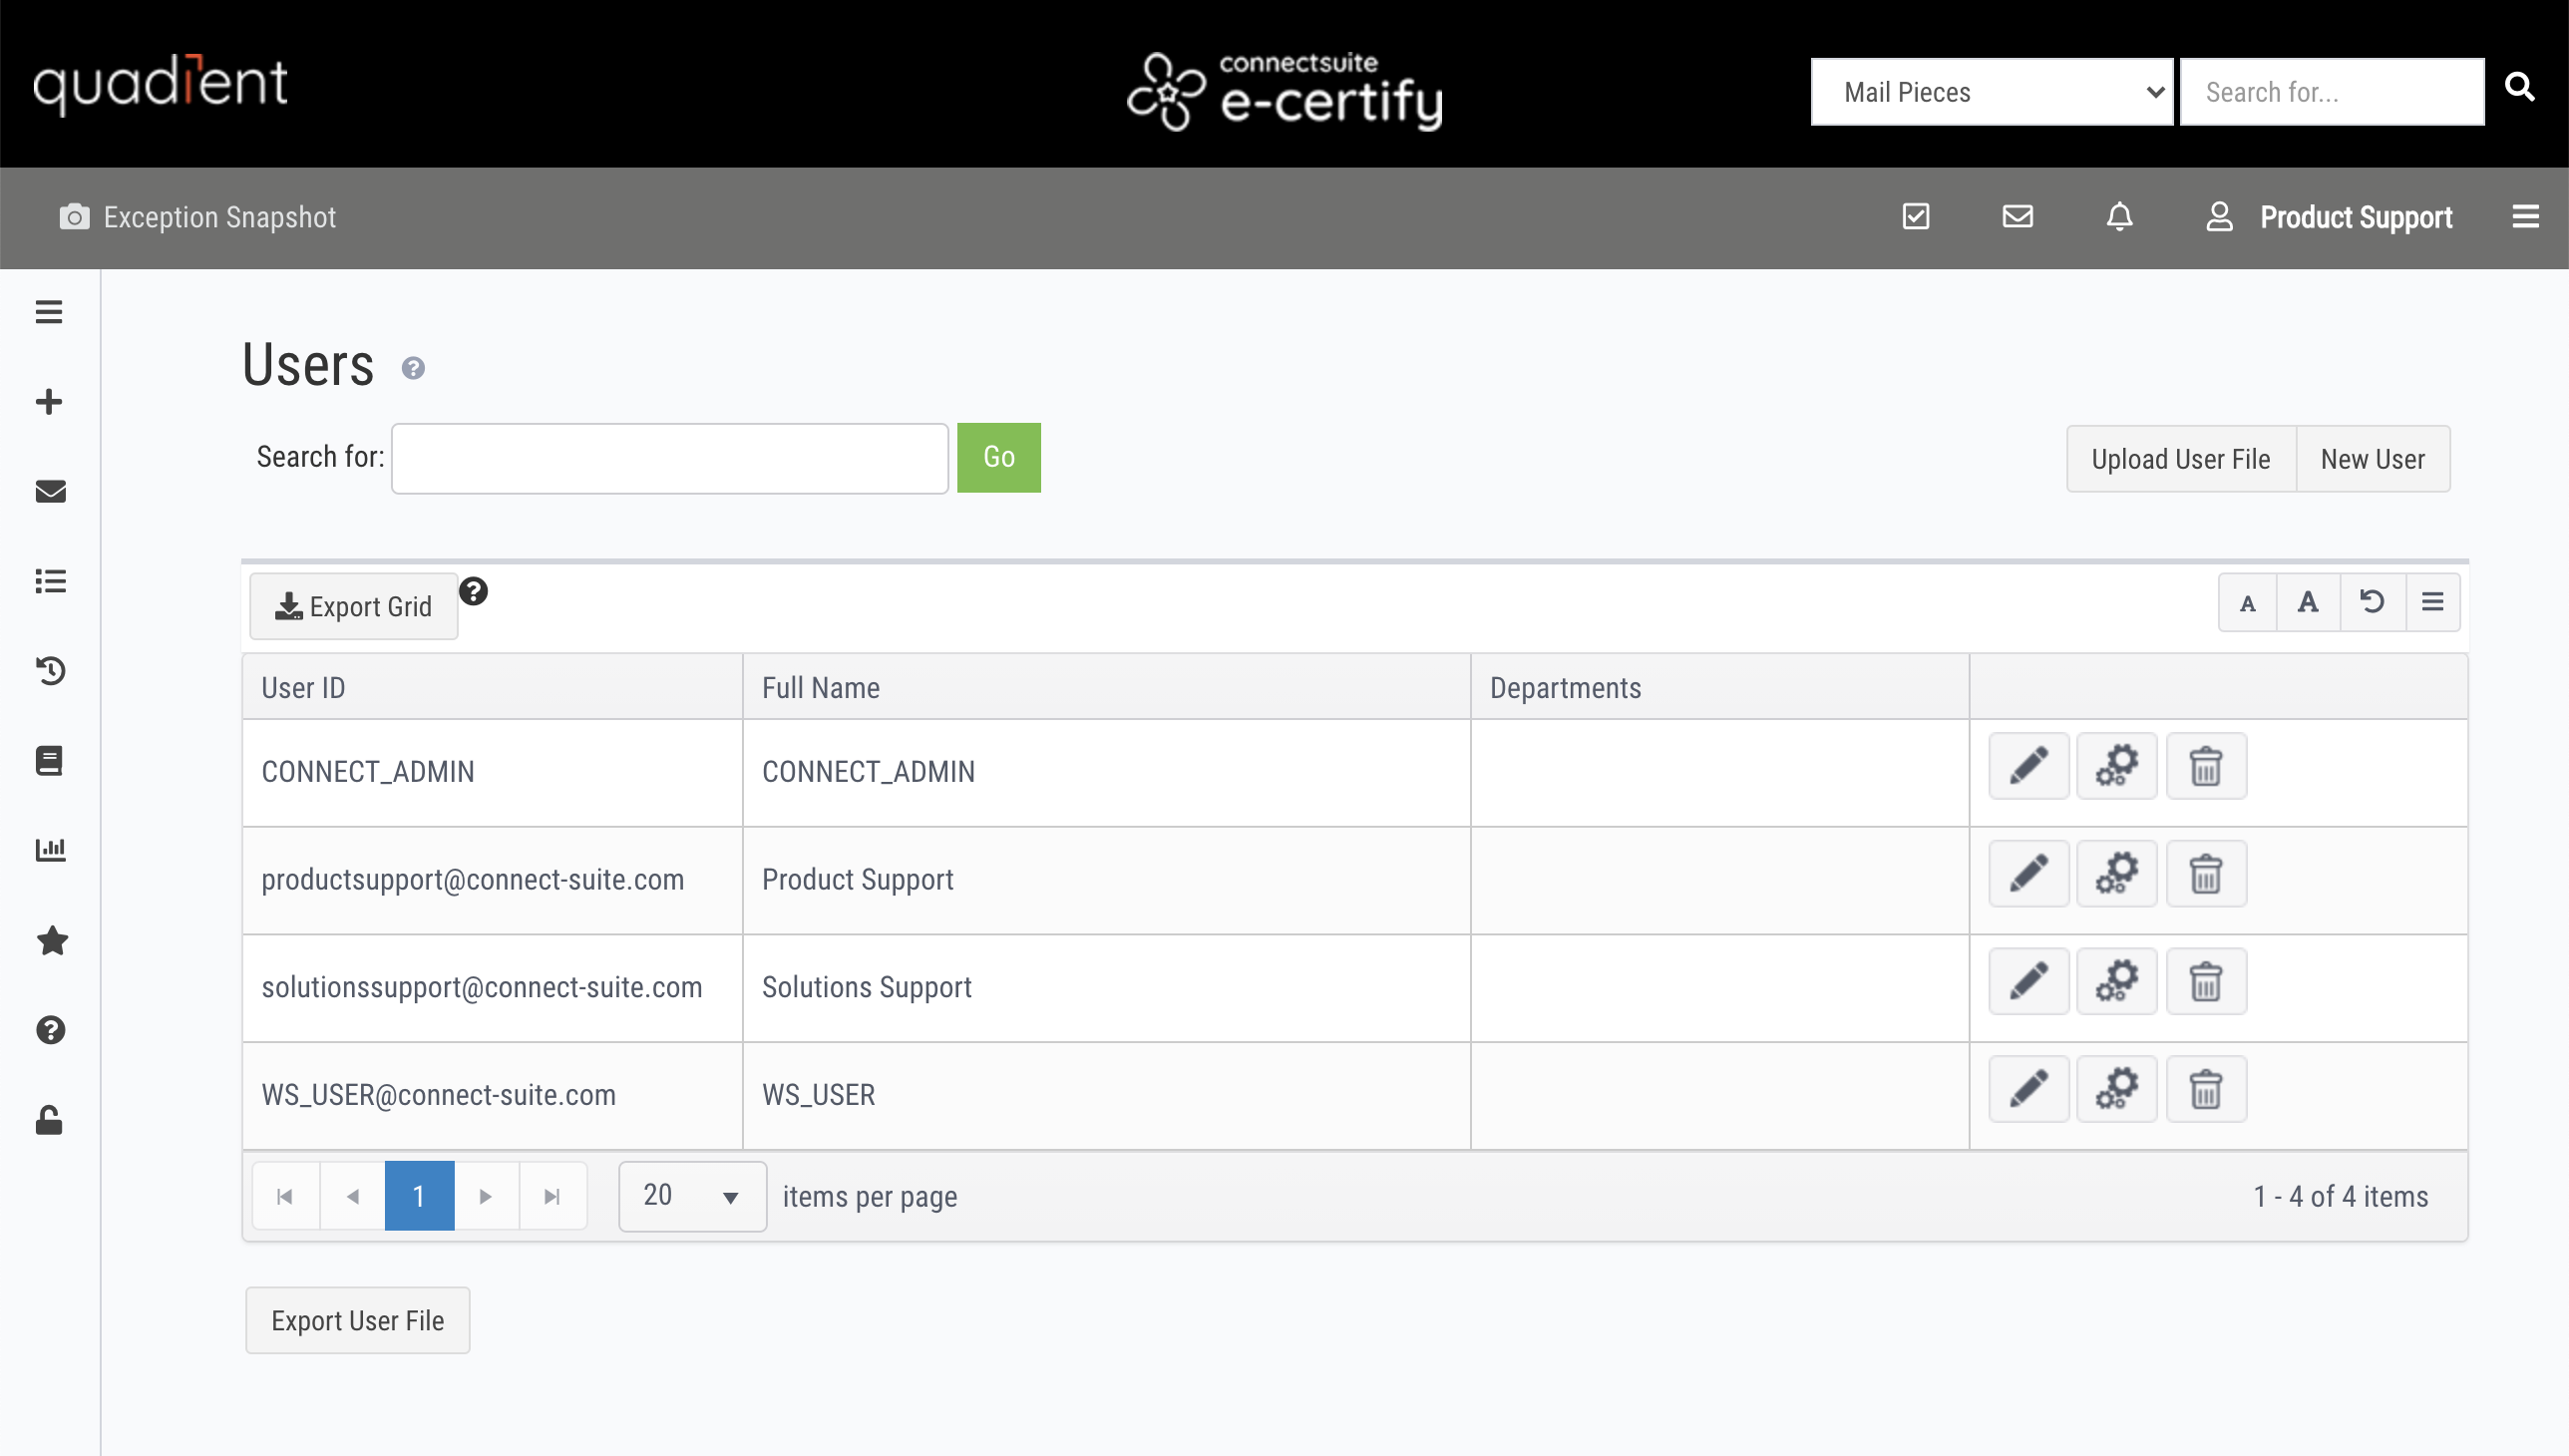
View users
New User: Create a new user.
Upload User File: Upload a batch of users.

Edit an existing user.
Edit user settings.
Delete an existing user.
Export User File: Export and view all the user data for your company
Create a new user
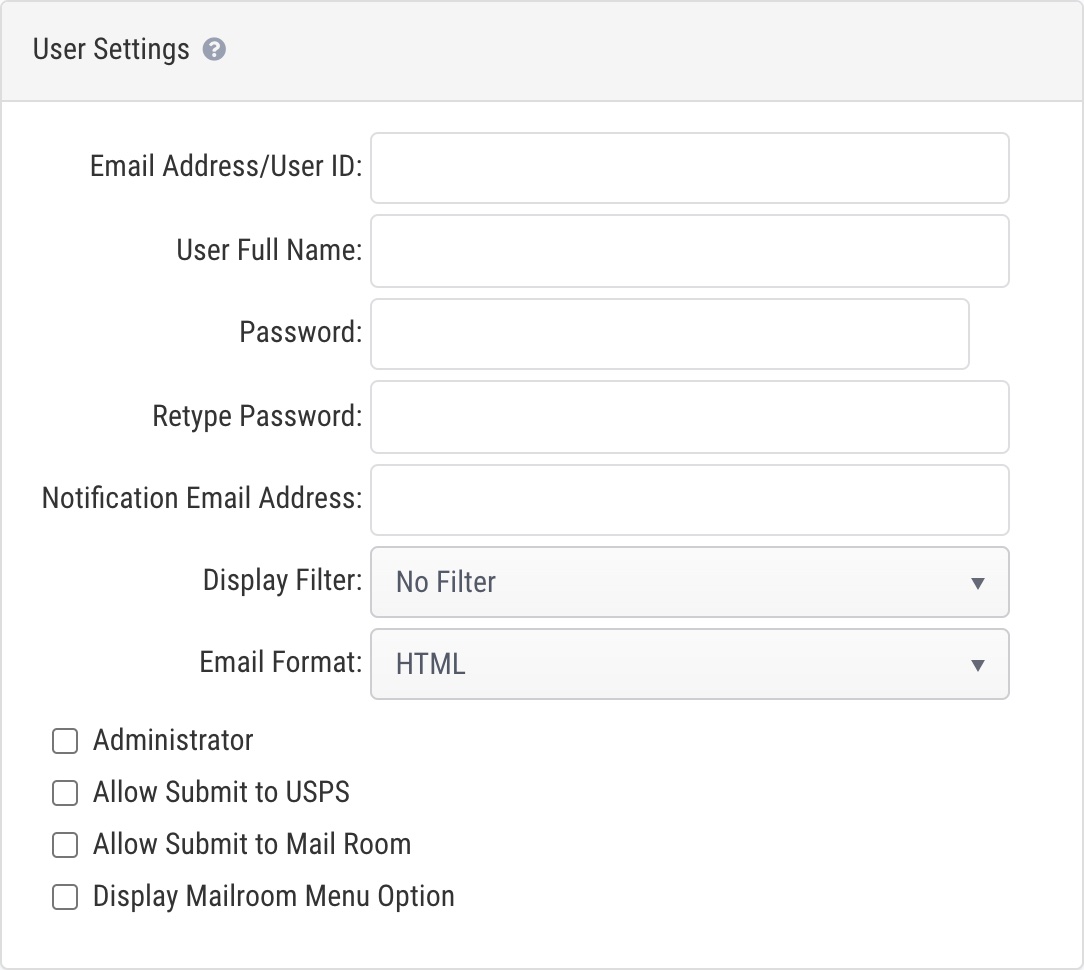
User Settings
- Email Address/User ID: The username used for login. This is required to be a valid email address.
- User Full Name: Full name of the user
- Password: Password used for login
- Notification Email Address: This email address is used for job accepted, job rejected, proof of acceptance, and proof of delivery email notifications. If you would like to add multiple email addresses to this field, separate them with a semicolon.
- Display Filter
- No Filter = Global access to mail pieces and mailing profiles (profile filters supersede display filter here)
- Filter By User = User will only see mailing profiles assigned specifically to them and will only see mail pieces they created, regardless of any location or department assignments
- Filter By Location/Department = User will only see mailing profiles and mail pieces assigned specifically to the locations/departments they are assigned to
- Email Format: Receive ConnectSuite e-Certify emails in HTML or plain text.
- Administrator: Make the user an administrator. Administrative access supersedes any permission group assignments, but the Display Filter still applies. See the admins vs users section below for more information.
- Allow Submit to USPS: Give user the ability to submit pieces to the USPS from the Mail Queue (recommended)
- Allow Submit to Mailroom: Give user the ability to submit pieces to the Mailroom from the Mail Queue
- Display Mailroom Menu Option: Show the menu option to access the Mailroom. Note that users may submit pieces to the Mailroom via the Mail Queue even if Display Mailroom Menu Option is disabled.
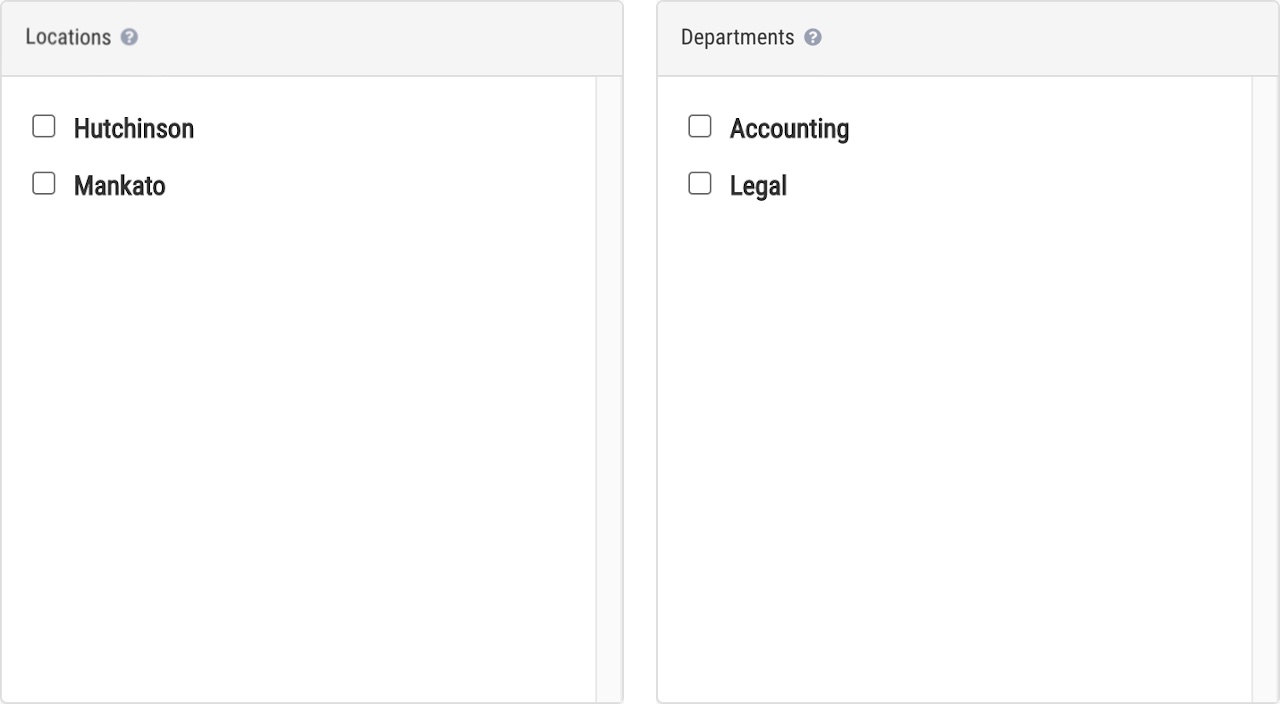
Locations/Departments: If you have created locations/departments, they will appear here. Users can be assigned to more than one location and department.
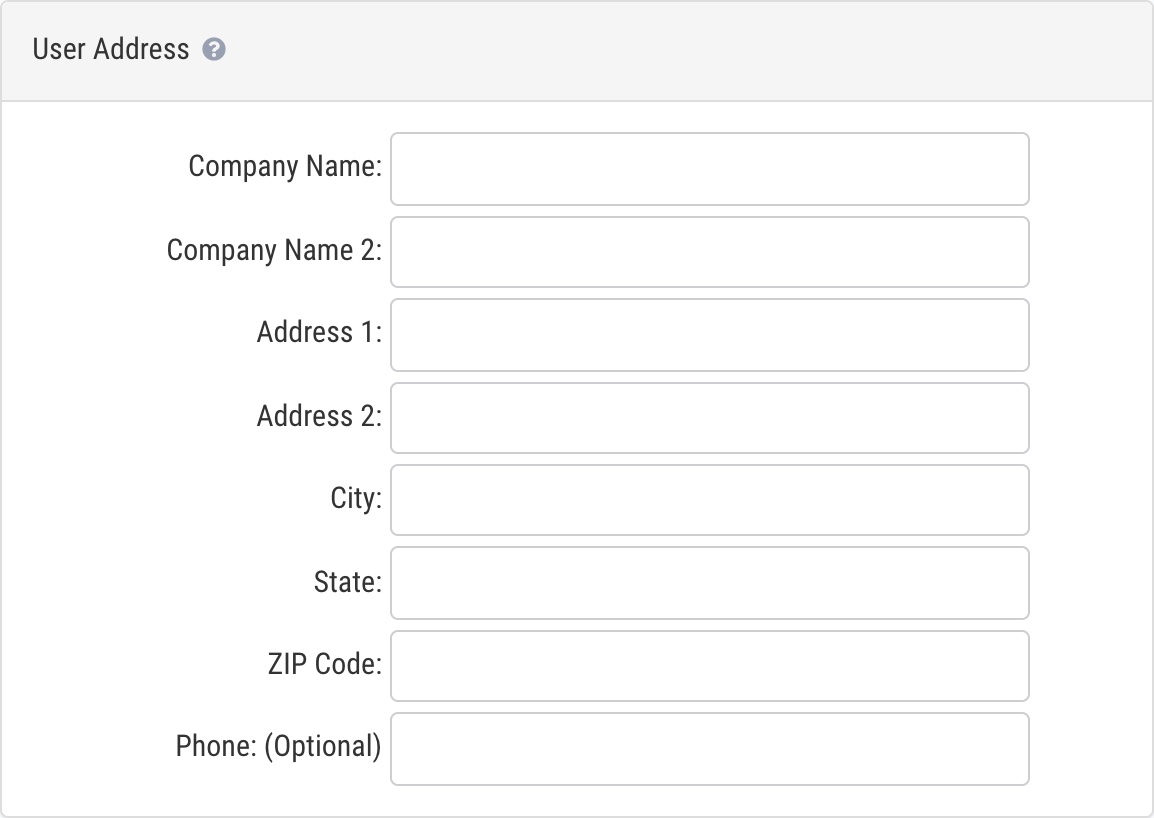
User Address: This address will be used as your sender/return address. See sender/return address information below for more details.
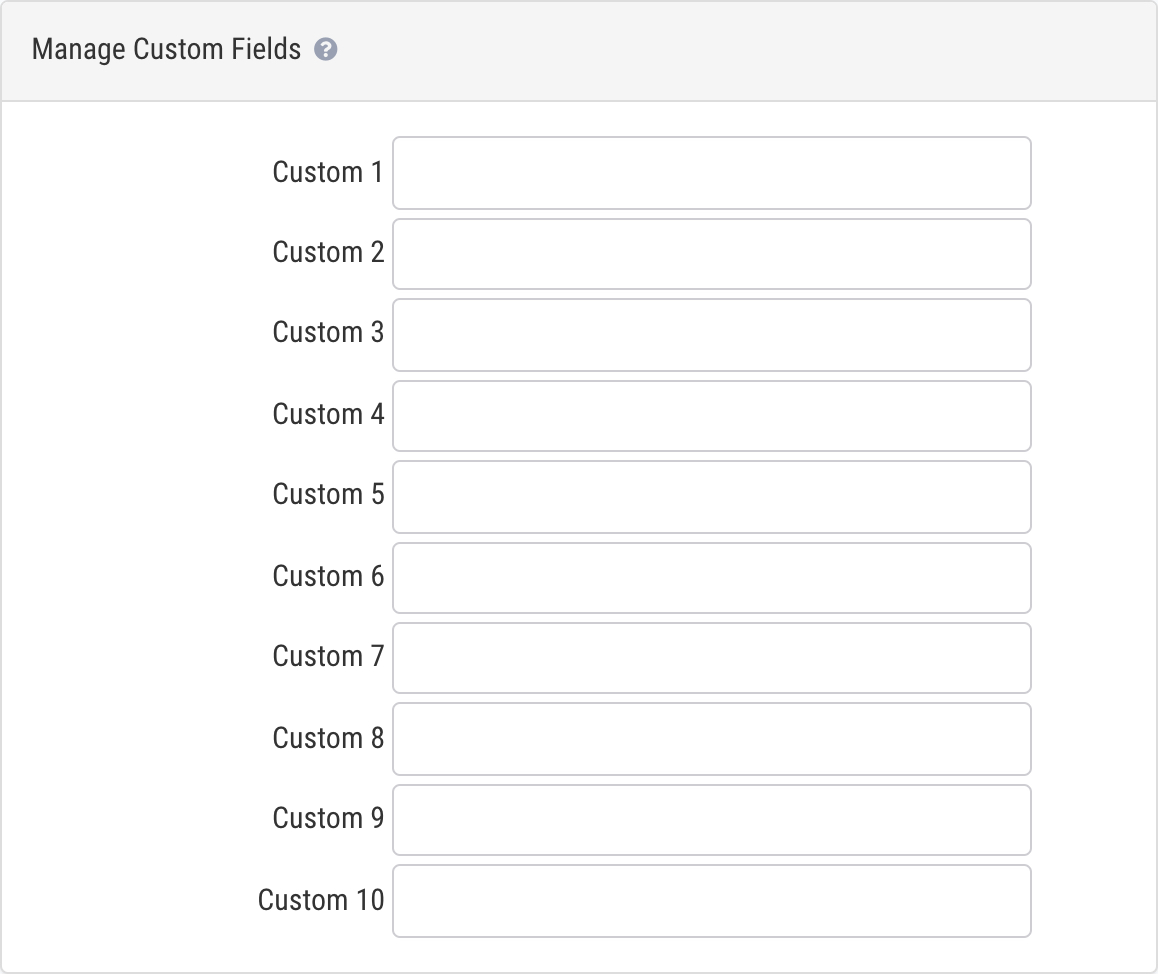
Manage Custom Fields: These are variable fields associated with a mail piece that help with mail piece search and identification. Learn more about configuring Custom Fields.
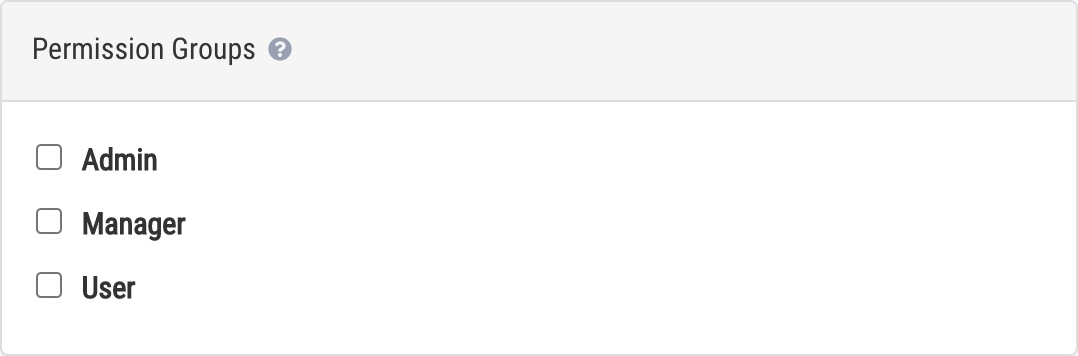
Permission Groups: If you have created permission groups, they will appear here. If multiple permission groups are selected, the user’s level of access for any given page will be determined by the permission group that grants the most access for that page. Learn more about Permission Groups.
Sender/return address information
Your sender/return address is used in the following places:
- The sender/return address on the banner page
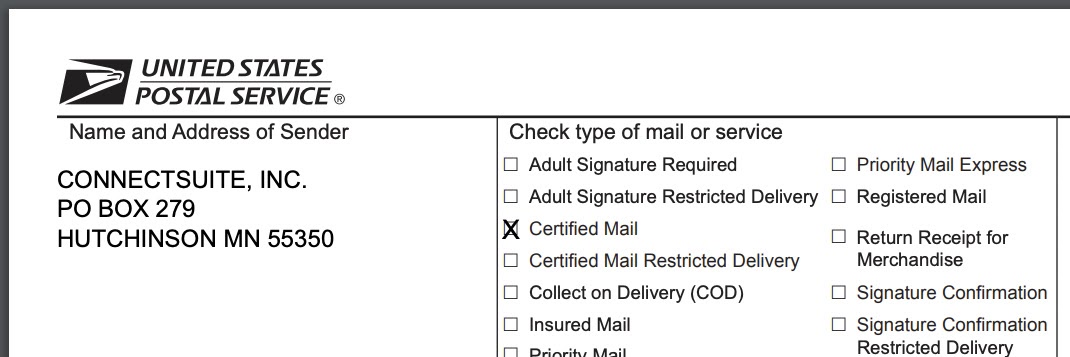
- The Name and Address of Sender field on PS Form 3877
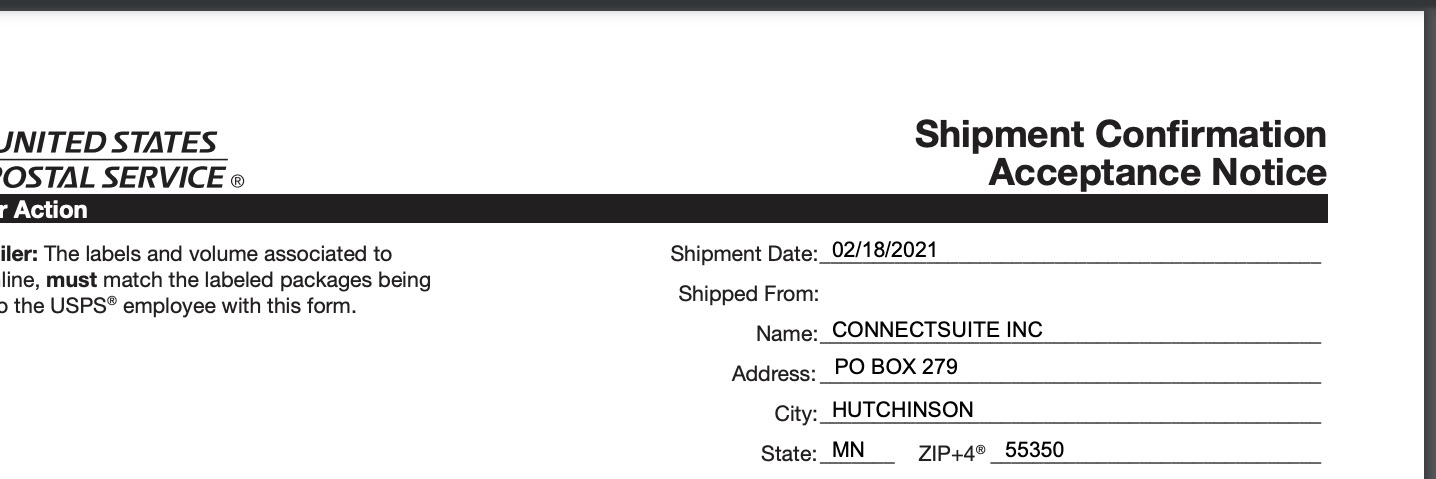
- The Shipped From fields on PS Form 5630
The address used in these places is pulled from the following, in this order:
- Return address selected within mailing profile
- User address
- Location address
- Location selected during mail piece creation
- Location selected within mailing profile
- Company address

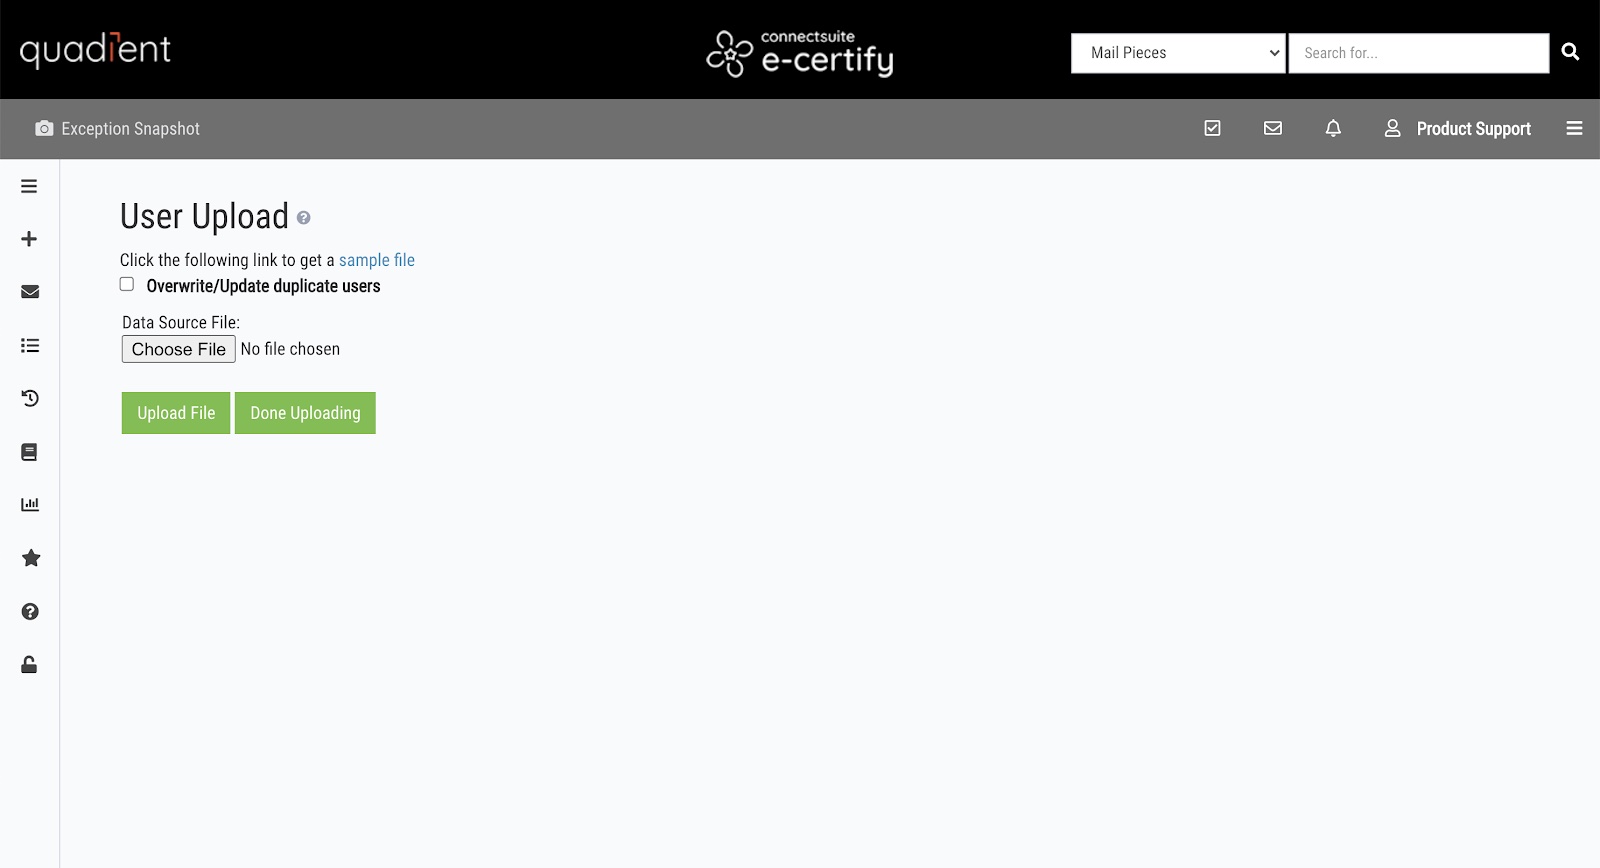
Upload user file
Choose File: The file to be uploaded must be saved as a CSV file. A sample file can be downloaded here.
Preparing your file:
- To assign a user to a location/department/permission group, enter the appropriate unique key. To assign a user to multiple locations, departments, or permission groups, separate entries with a pipe ( | ).
- To make a selection in the DISPLAYFILTER column, type the number of your selection.
- No Filter = 0
- Filter By User = 1
- Filter By Location/Department = 2
- To make a selection in the EMAILFORMAT column, type the number of your selection.
- HTML = 0
- Text = 1
- To make a selection in the ADMIN, ALLOWUSPS, ALLOWMAILROOM, and ALLOWMAILROOMMENU columns, enter 0 to disable or 1 to enable.
- To update information for an existing user, ensure that your file includes the appropriate email address/user ID in the USERID column.
- If a field is left blank when updating information for an existing user, no changes will be made to that field. The USERID, USERFULLNAME, and PASSWORD columns are required to be filled in.
- To remove all location, department, or permission group assignments for an existing user, include a single pipe ( | ) in the LOCATIONKEY, DEPARTMENTKEY, or PERMISSIONGROUPKEY column.
Overwrite/Update duplicate users: Allow e-Certify to update existing users according to your file. If this is not selected, entries for duplicate users will be ignored.
Note: If any records fail to be added or updated, it will be logged and the process will continue. On completion, all records that failed to be added or updated will be reported back to the user.
Admins vs users
Admins and users have different levels of access within e-Certify. Admins have access to everything on the site regardless of any permission group assignments, though, the Display Filter still applies. Users are more limited in what they can access. Here’s an overview of the major differences:
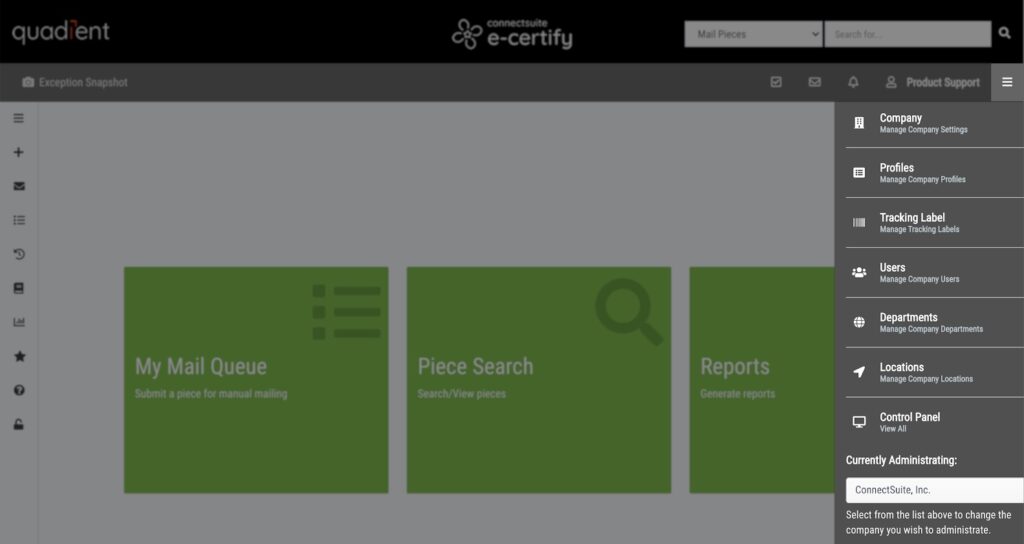
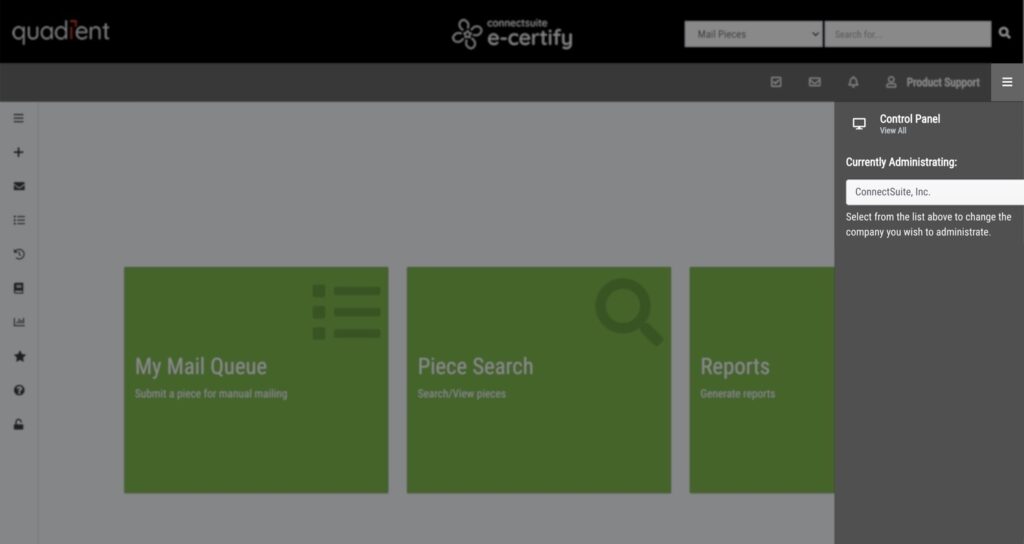
- Right navigation bar options: Admins will see all the options in the right navigation bar. Users will only see the Control Panel.
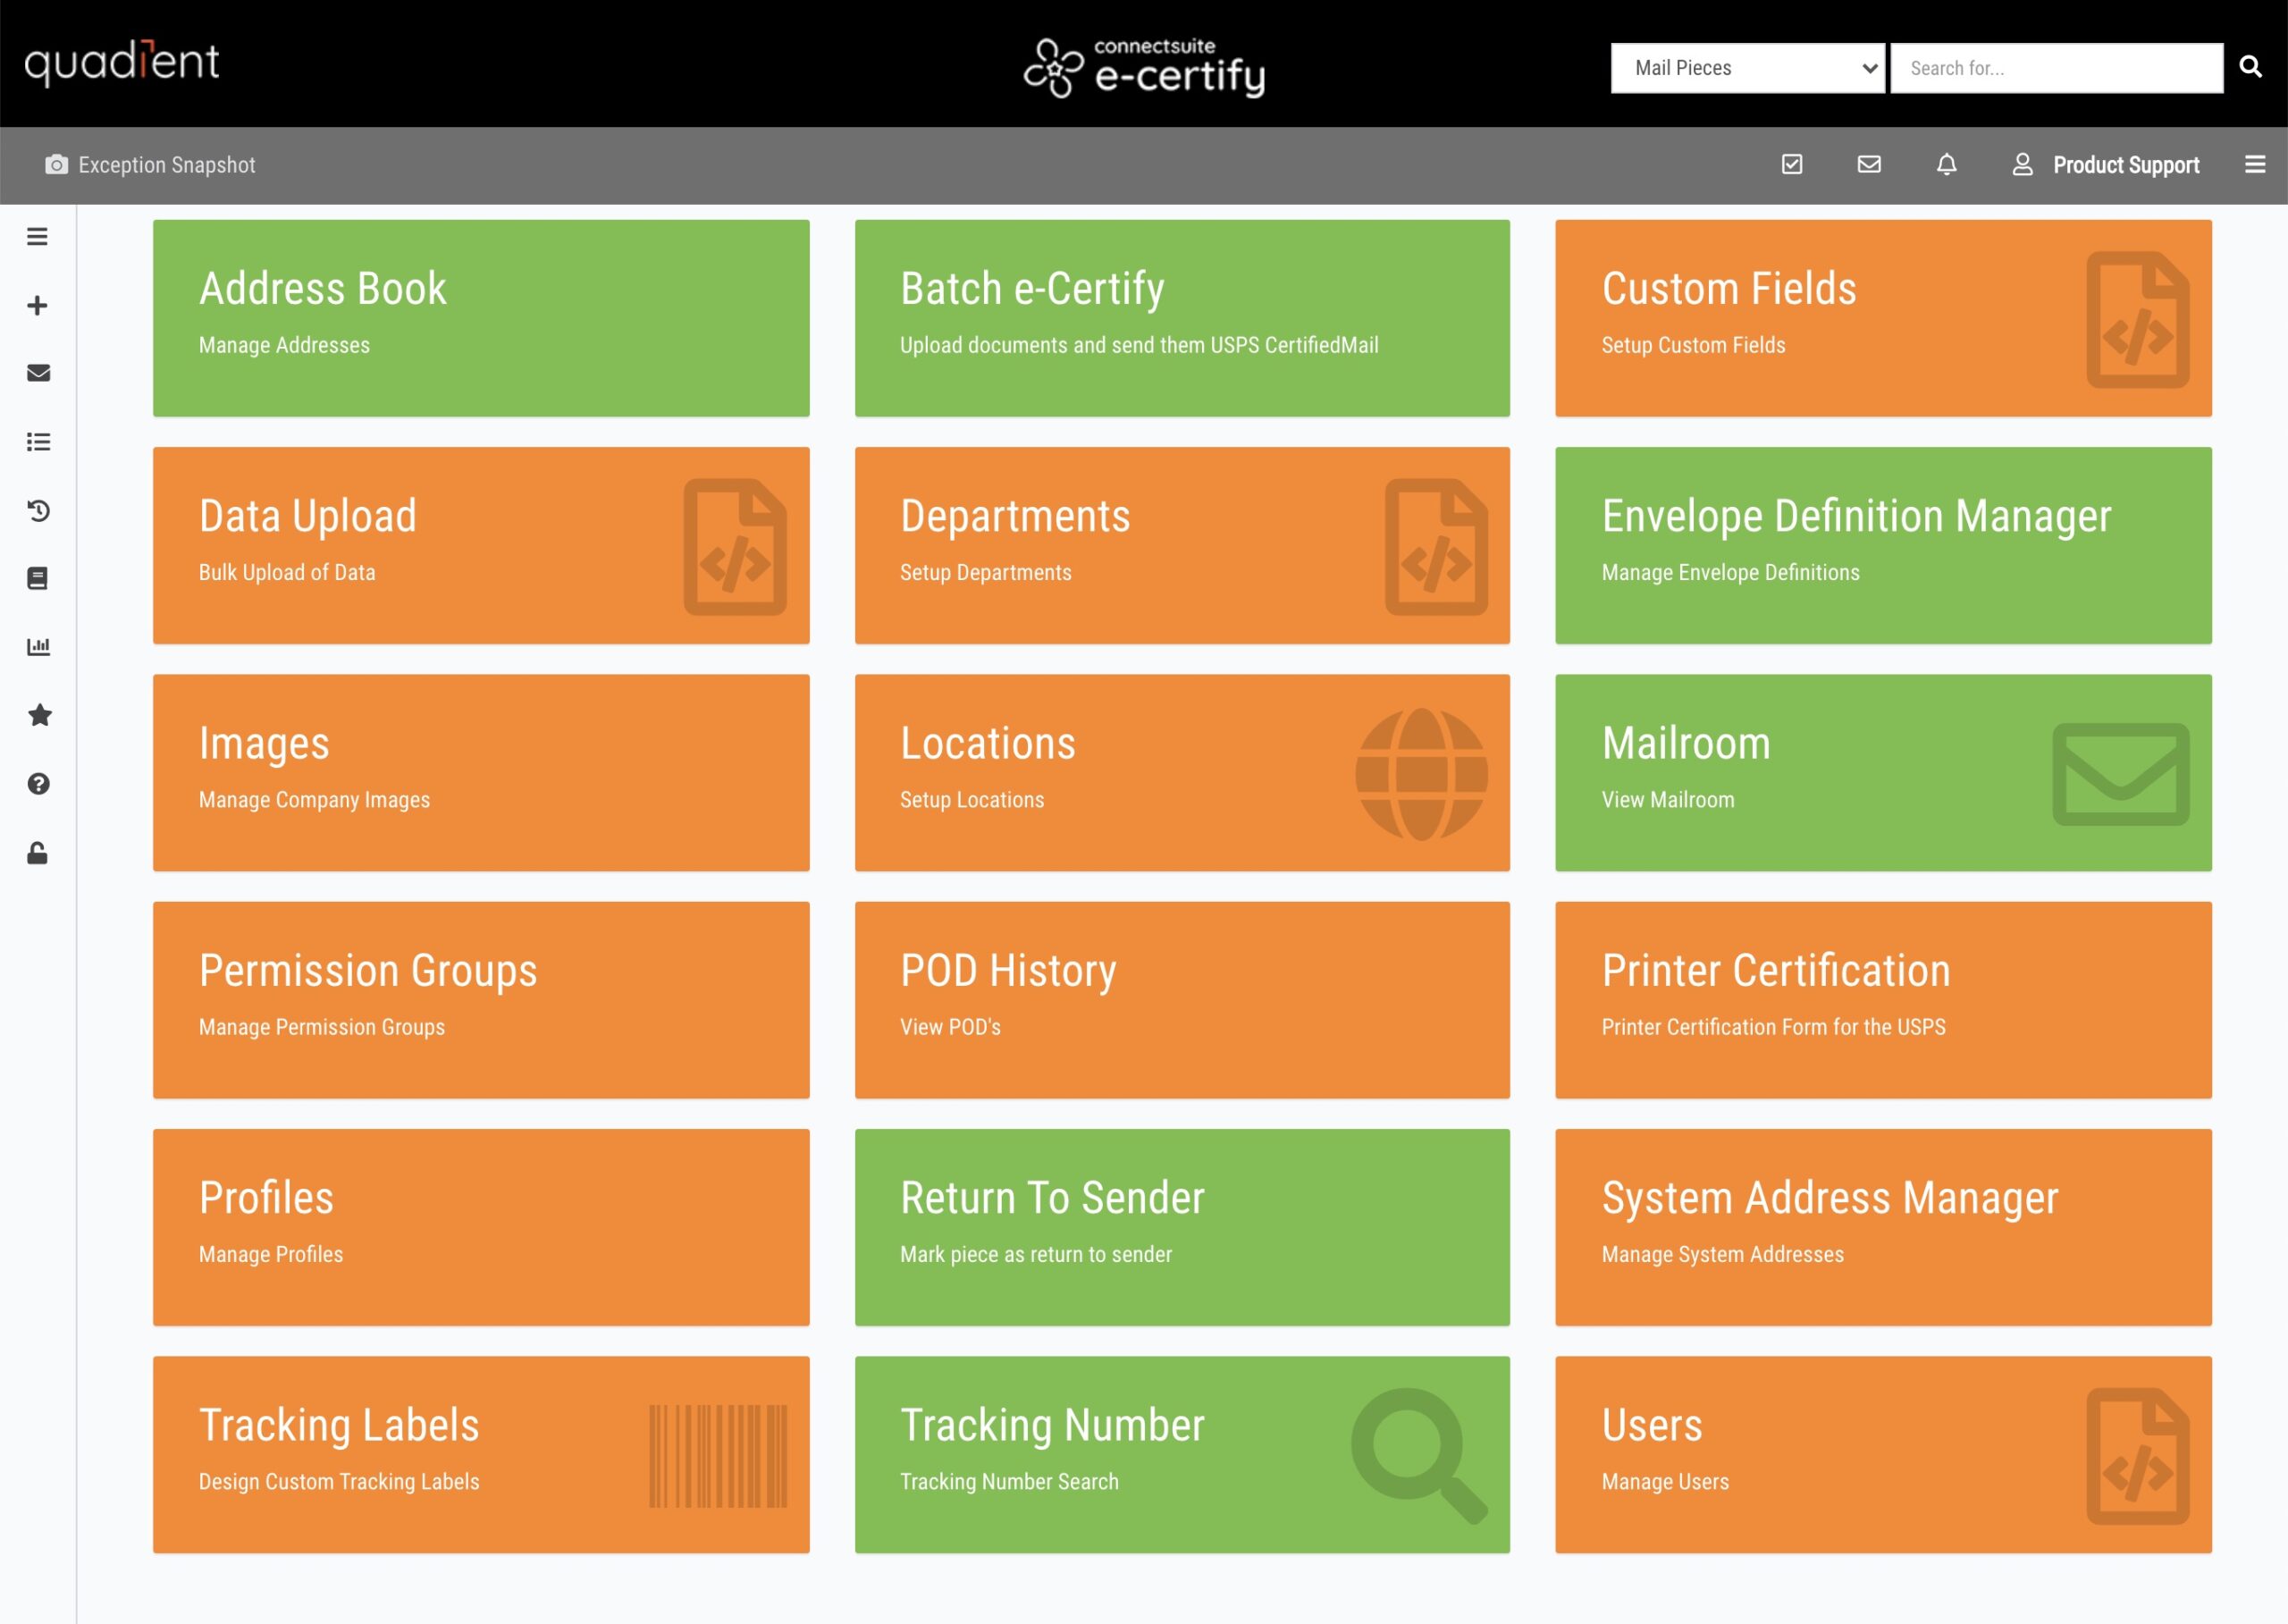
- Control Panel options: The Control Panel looks slightly different for admins compared to users. Admins have access to all the tiles while users will only have access to a select few. Learn more about the Control Panel.
- Exception Snapshot: Only admins will see the Exception Snapshot option in the top menu.